How to Apply a Screen Protector Without Bubbles: Step-by-Step Guide for Any Phone
Posted by New Case on 29th May 2025
Applying a tempered glass screen protector can be tricky—especially when air bubbles or dust get in the way. Whether it’s your first time or you’ve struggled before, this step-by-step guide will help you achieve a flawless, bubble-free finish on any phone.

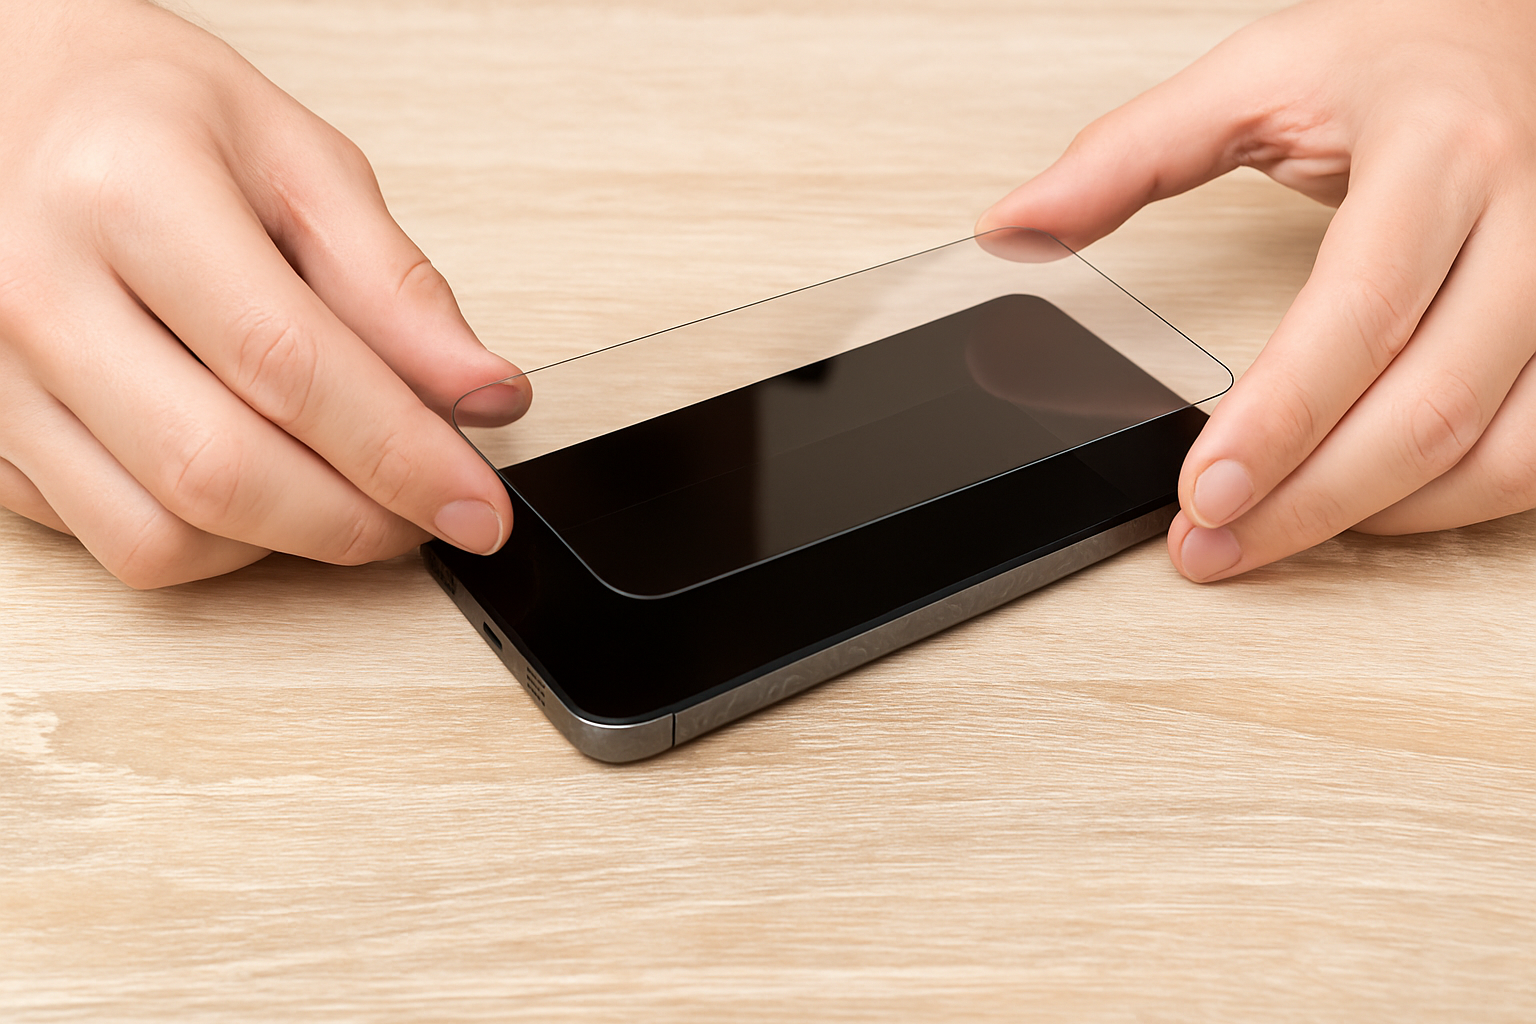
Image: Lining up the screen protector during installation
✅ Step 1: Clean Your Hands and Work Area
Start with clean, dry hands. Choose a dust-free environment—like a steamy bathroom post-shower—to prevent particles from settling on your screen.
✅ Step 2: Prepare the Phone Screen
Use the included alcohol wipe to thoroughly clean the screen and remove any oils or fingerprints. Follow up with a microfiber cloth to dry and polish the surface. Finally, use a dust removal sticker to pick up any last particles.
Pro tip: Even the tiniest speck of dust can create a bubble. Take your time.
✅ Step 3: Align Before Peeling
Before removing the adhesive backing, place the protector over your screen to understand the correct alignment—especially around cut-outs for cameras and sensors.
Peel back just one edge (top or bottom) of the backing, align carefully, and slowly lay it down while pressing out air as you go.
✅ Step 4: Apply with Care
Use a credit card wrapped in the microfiber cloth or the included squeegee to push out bubbles. Start from the centre and move outward with firm, even pressure.
✅ Step 5: Fix Any Dust Bubbles
Still see a bubble with a speck inside? Carefully lift that section using a fingernail or sticky tape, remove the dust with a second piece of tape, and reapply.
⏳ Step 6: Wait It Out
Some micro bubbles may disappear within 24–48 hours. Be patient—your screen may look clearer the next day.


